02.Let's spread the particles!
Overview
In this chapter, You will disperse the particles.<> This chapter is not enough to make cool effects, but you can learn the basic operation of Effekseer. Based on the knowledge learned in this chapter, you will create a cool effect in the next chapter. Therefore, let's understand firmly.
Edit location
Edit initial location
Currently, particles are shown in the center. Let's move this particle from the center.
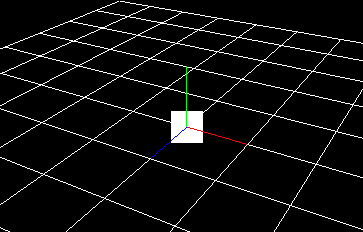
Shown in the center
First, click "Node" in the "Node Tree" on the right side of the screen. The "Node Tree" window is It shows the structure of the entire effect, "Node" indicates particles. By editing this, you can edit the shape of this particle.
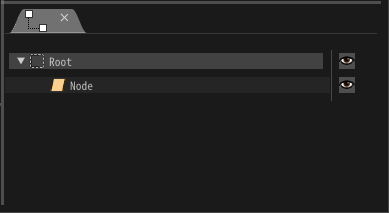
Node Tree Window
When clicked, a large number of available parameters will be displayed. Although it may be surprised if it is the first time, only a part of parameters are used in this chapter.
To edit the position of the initial location, edit the parameters of the "Position" window.
Click an icon of "Position" window shown in a tab on the upper right to show "Position" window.
An icon of position window
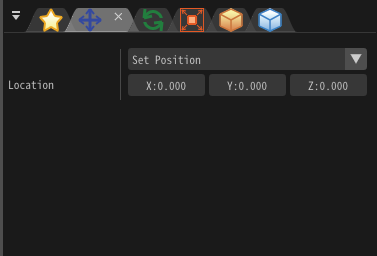
Position Window
Let's change the value of x at the position in the position window from 0 to 2.
A value can be entered from the keyboard by left-clicking a text entry box with the mouse.
Left-click and drag a text entry box to change the value gradually.

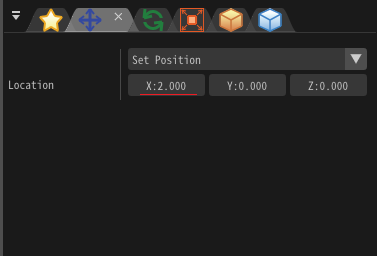
Change the value of x
Then, the particle moved from the center to the outside.

Move to the outside
Make the particle move
It is not fun when the particle is frozen. Let's move the particle.
Effekseer has several ways to specify the position.
Although the position is fixed in the initial setting, there is a specification method that can specify speed and acceleration.
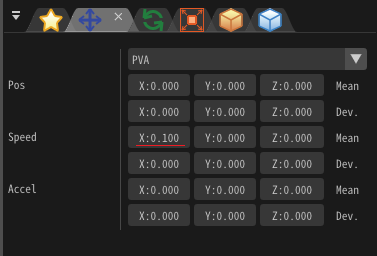
Click on the drop-down list in the "Position" window and change from position to position, velocity, acceleration. Then, a text box for entering velocity and acceleration is added to the "Position" window. You will be able to set particle velocity and acceleration, so you can move the particles.

Position, Velocity, Accelaration
Let's enter 0.1 in the x direction speed(Mean).
Position, Velocity, acceleration
Then, the particle began to jump out of the screen.

Moving effect
Let's try to see how behavior changes by entering other numbers.
Display multiple particles
There are little effects constructed of single particle. Let's display multiple particles.
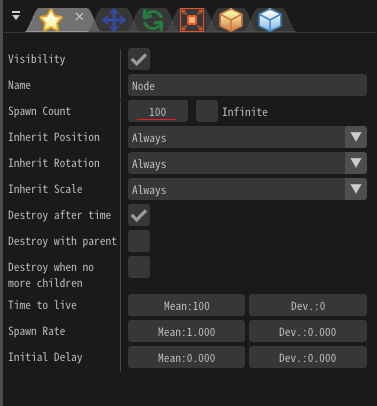
The number of particles is set to the spawn count in the "Basic Settings" window. Increasing this number will generate a lot of particles.
Click an icon of "Basic Settings" window to show "Basic Settings" window.
An icon of Basic Settings

Spawn Count
Let's make the spawn count 100.
Add spawn count
Much particles are now generated. However, as all the particles move in the same direction, the particles will be displayed overlapping.

Add spawn count
Move randomly for each particle
When the particle movement direction is the same, the particles will be displayed overlapping. So, let's move randomly for each particle.
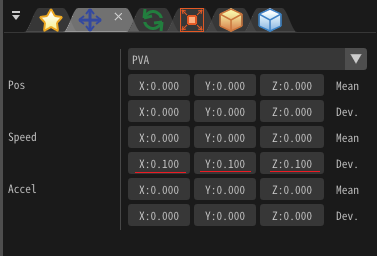
Let's enter 0.1 for the xyz deviation of the speed. In addition, we reset 0.1 which was input to mean earlier to 0.
This means that the speed is randomly set between -0.1 and 0.1. That is, the particles move to the entire periphery around (0, 0, 0).
Random
Particles now move around the entire circumference.

Random
Shorten the time when particles are displayed
Although particles are displayed for a long time now, some effects are displayed for a short time, depending on the effect. Let's shorten the display time.
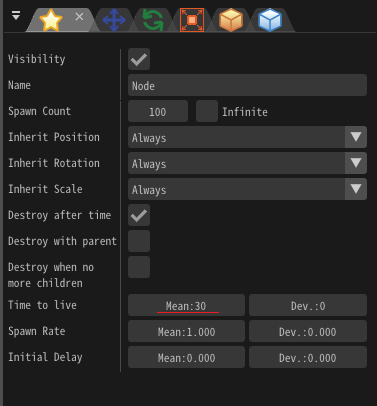
There is a parameter called Time to live in the common window. Let's shorten this parameter. I entered 30 this time.
Time to live
If you make it smaller, particles will disappear soon.

Time to live
Finally, I made it possible to download the effect created in this chapter.
Summary
This time I created multiple particles and made move. In the next chapter, you will edit from a particle to look more like an effect.