01.Sample and Use!
Summary
In this chapter, we will open Effekseer and examine the samples, as well as explain it's basic operation. After that, we will explain how to use Effekseer in other applications (For example, games)

Effects we will create this chapter.
Startup
Effekseer startup method (Windows)
Effekseer is located in "Tool/Effekseer.exe". Navigate to the folder and double click the executable to start the program.
Effekseer Icon
If Effekseer fails to start (Windows)
OS is too old.
Effekseer can run on Windows 10 or later.
DirectX 11 is required.
Verify D3DCompiler_47.dll is installed
Download them from the links below.
Running Effekseer directly from the .zip file
Extract files before running. Right click the .zip and select "Extract All" from the context menu.
Effekseer still will not start
Please contact us on the offical website.
Effekseer startup method (Mac)
Effekseer is located in "Effekseer.dmg". Move Effekseer to other folder such as an Applications and double click the executable to start the program.
If Effekseer fails to start (Mac)
OS is too old.
Effekseer can run on macOS Sierra or later.
Running Effekseer directly from dmg
Effekseer to other folder.
Effekseer still will not start
Please contact us on the offical website.
Successful Startup
If startup is successfull, you will be greeted by a screen that looks similar to this.
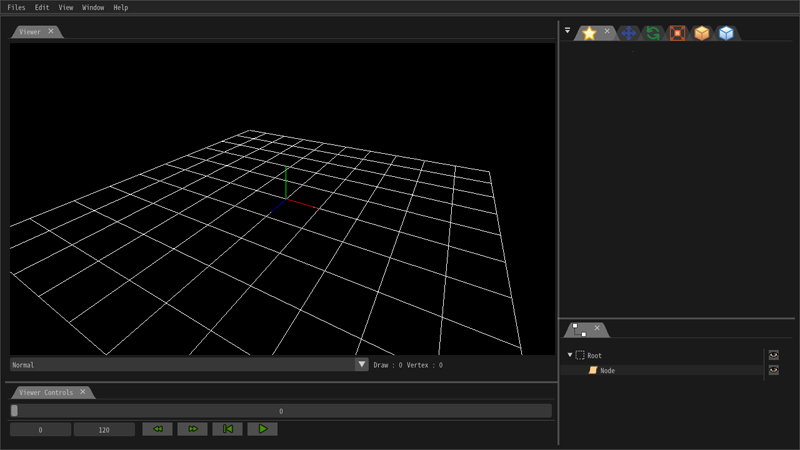
Effekseer's startup screen
Now let's try to open a sample.
Opening A Sample and Basic Operation
After startup you will see a 3D screen with nothing displayed on it. Press the play button located at the bottom left.

Play Button
After pressing the play button you will see a white square. This white square is the particle that effects are composed of. Effects are generally made up of many such particles. Because no settings were established all that is visible is a single white square particle. Particles like this are the basis for all the different particle effects that can be made using this software, but for new users editing particles into copmlex particles can be difficult. Because of this, we will not cover editing particles in this chapter.
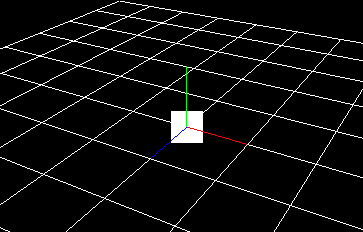
Square particle
Making particles only using white squares however is no fun. To fix this, let's download a sample file. Please download the sample from the link below and extract it.
After extracting the sample, please locate the file "Sample.efkefc" and extract it. You can open it by either double clicking the file or dragging the project or dragging it onto the 3D screen of Effekseer. After opening the file, press the play button. You should see the following.。
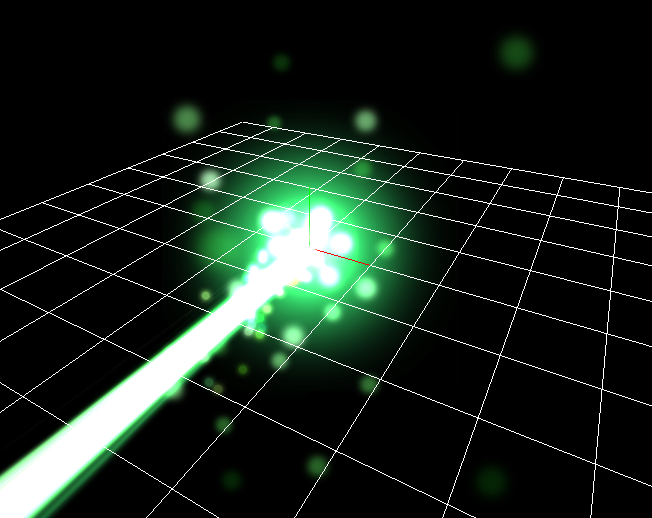
Sample project.
In addition to this sample, there are more than 150 freely available samples on the official site. Please see the link below for details.
Up until now we have been looking at a fixed direction, so let's move the viewport. Instructions on how to do so can be found below.
| Rotation | Click the right mouse button and move the mouse while holding. |
| Pan | Click the middle mouse button or right button + Shift and move the mouse while holding. |
| Zoom | Scroll the mouse wheel or right button + Control to zoom in and out. |
Use the mouse to look at the previous sample particle from a different direction
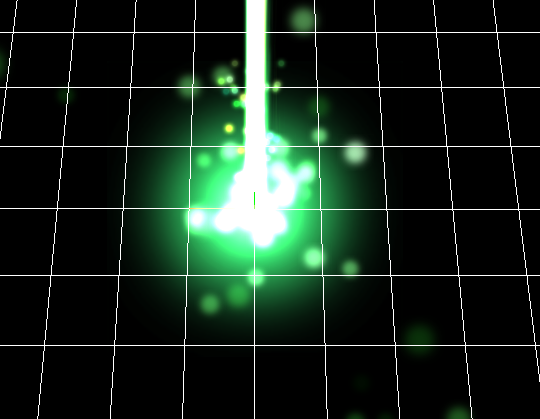
Sample from new perspective
In order to make editing effect easier, effects will loop by defualt. You can specify a range to loop using the text box at the bottom left (pictured below)。Effekseer advances at increments of 1/60th seconds。Because of this, the default range is set to 0 through 2 seconds.

Loop range
External Usage
If all you are concerned with is creating effects, then you do not need to read this section. Typically though, effects are exported and used in other applications. This section explains two methods of using Effekseer files in external applications.
Recording
Effekseer allows you to output sprite sheets and gif animations of your effects recorded at regular intervals. When "Window ->Record" is selected in the menu bar, "Recording Window" is displayed. Here, you can change the recording parameters such as the size or the frequency to record pictures for your sprite sheets or gifs.
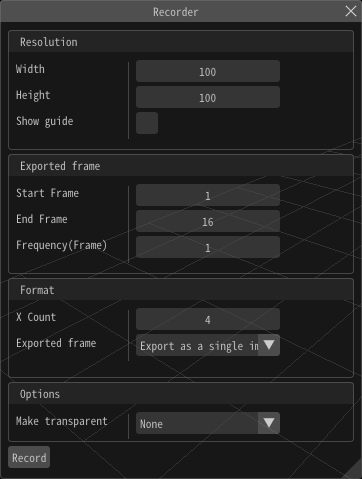
Recording Window
Effekseer enables you to output sprite sheets and movie files in which images are displayed at regular time intervals. A sprite sheet is a single image file in which all frames of an animation are arranged in order.
After setting the parameters and pressing "Record", a dialog will be displayed asking you to save the recorded results. When you press save in the dialog, the results recorded at the specified destination are saved.
Since the output sprite sheet is just a picture, it can be easily used by other applications. Movie files can also be used with video editing software such as AfterEffects.
An example of a spritesheet
For Unity, UnrealEngine4 and so on
The efkefc file of Effekseer effects can be load by game engines such as Unity, UnrealEngine4 and Cocos2d-x.
It is also possible to incorporate Effekseer into your project using the Effekseer runtime. (For more information, please consult the developer.)
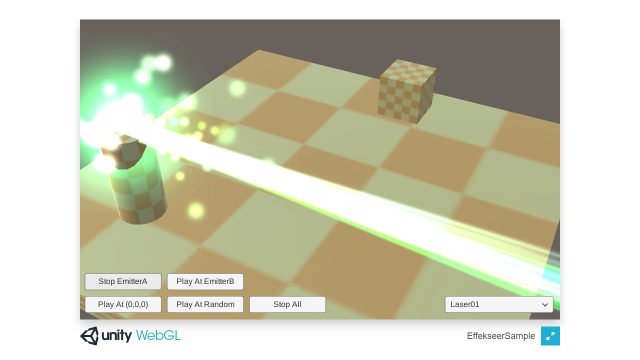
Example of usage in Unity
About Sample Effects
Efekseer's official site has many sample effects. These can be used without any restriction. You may use them as is for a movie or a game, or as the basis for new materials that you create yourself. The sky is the limit!
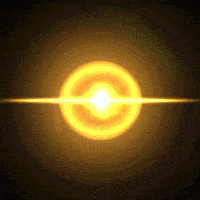
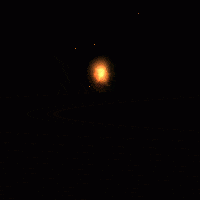

Sample Collection
It isn't mandatory, but it would be appreciated if you include the name of the author who created any sample effects you use.
You can also use sample effects as a reference feor ideas about how to create your own effects. It might be overwhelming for a beginner to figure out how a certain effect was done, but in the next chapter we will take a look at how to create effects to give you a better idea of what to look for in these sample files.
Summary
In this chapter, we explored the basic usage of Effekseer and the basics of playing effects in external applications. In the next chapter, we will take a look at how to create our own effects.